Note
Go to the end to download the full example code
Areas#
本例演示如何使用 area 命令创建基本几何体。
import numpy as np

from ansys.mapdl.core import launch_mapdl

# start MAPDL and enter the pre-processing routine
mapdl = launch_mapdl()
mapdl.clear()
mapdl.prep7()
print(mapdl)
Product:             Ansys Mechanical Enterprise
MAPDL Version:       23.1
ansys.mapdl Version: 0.67.0
APDL Command: A#
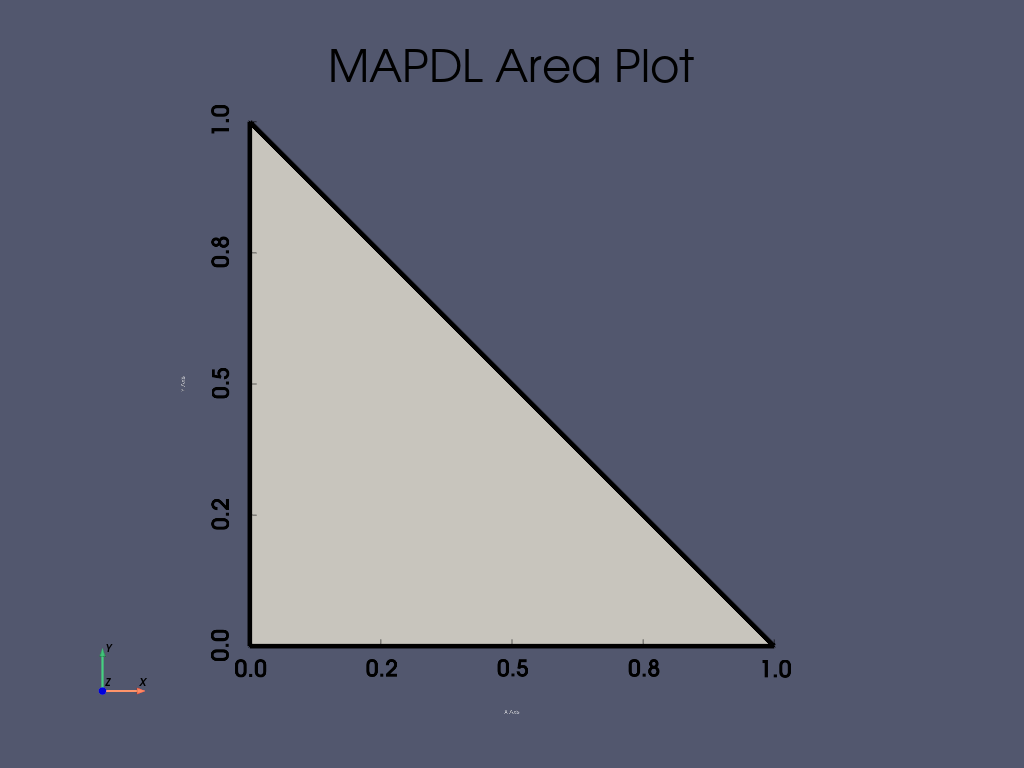
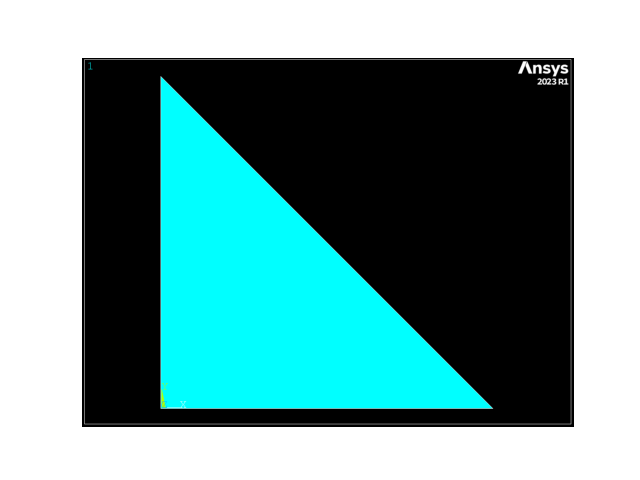
使用三个关键点在 XY 平面上创建一个简单的三角形。
APDL Command: AL#
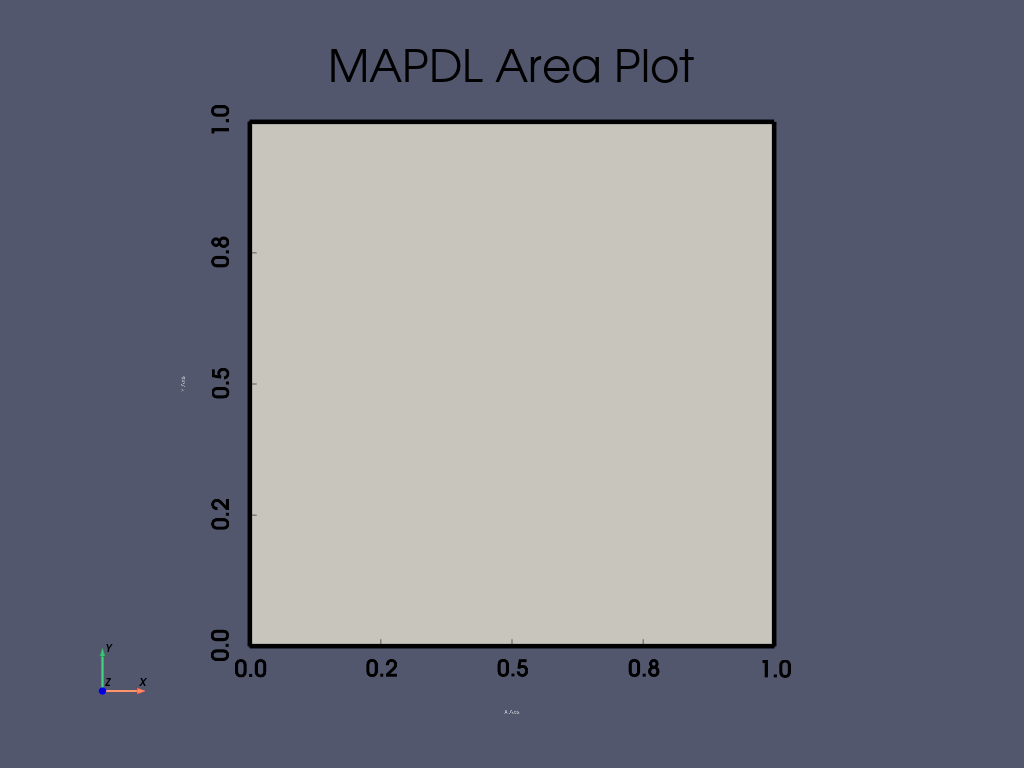
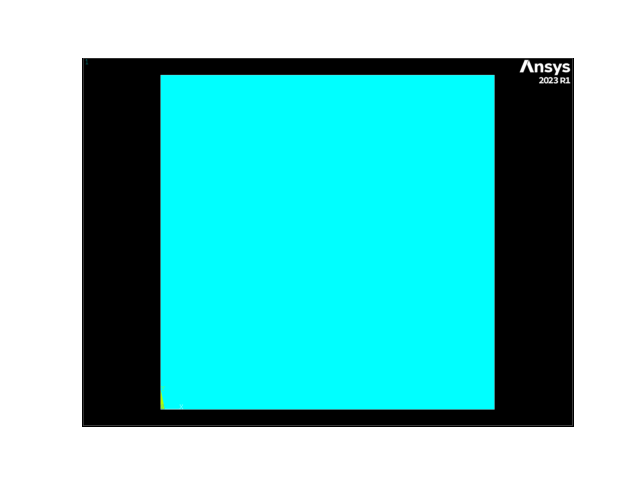
用四条线创建一个 area 。
mapdl.clear()
mapdl.prep7()

k0 = mapdl.k("", 0, 0, 0)
k1 = mapdl.k("", 1, 0, 0)
k2 = mapdl.k("", 1, 1, 0)
k3 = mapdl.k("", 0, 1, 0)
l0 = mapdl.l(k0, k1)
l1 = mapdl.l(k1, k2)
l2 = mapdl.l(k2, k3)
l3 = mapdl.l(k3, k0)
anum = mapdl.al(l0, l1, l2, l3)
mapdl.aplot(vtk=False)
mapdl.aplot(show_lines=True, line_width=5, show_bounds=True, cpos="xy")
APDL Command: ADRAG#
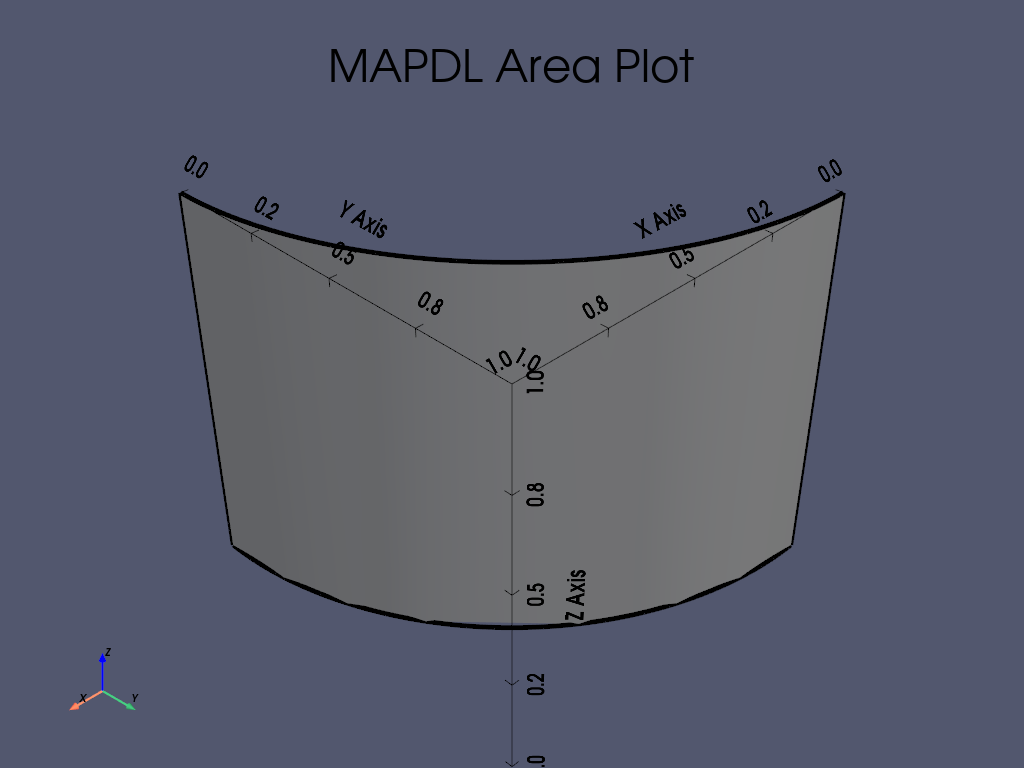
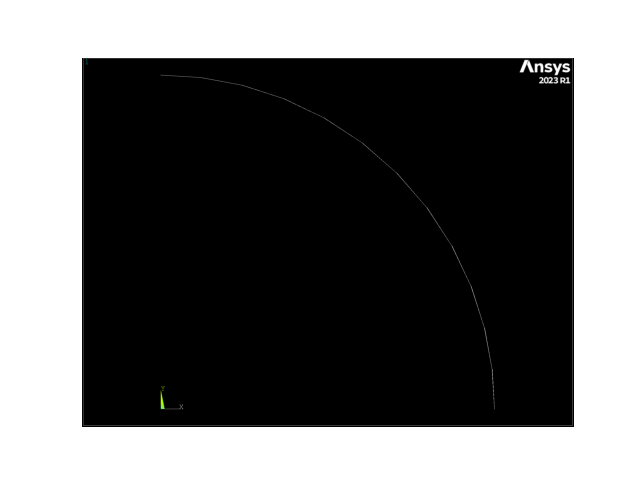
通过沿路径拖动线来生成 area。
在两个关键点之间拖动一个圆,创建一个 area
APDL Command: ASBA#
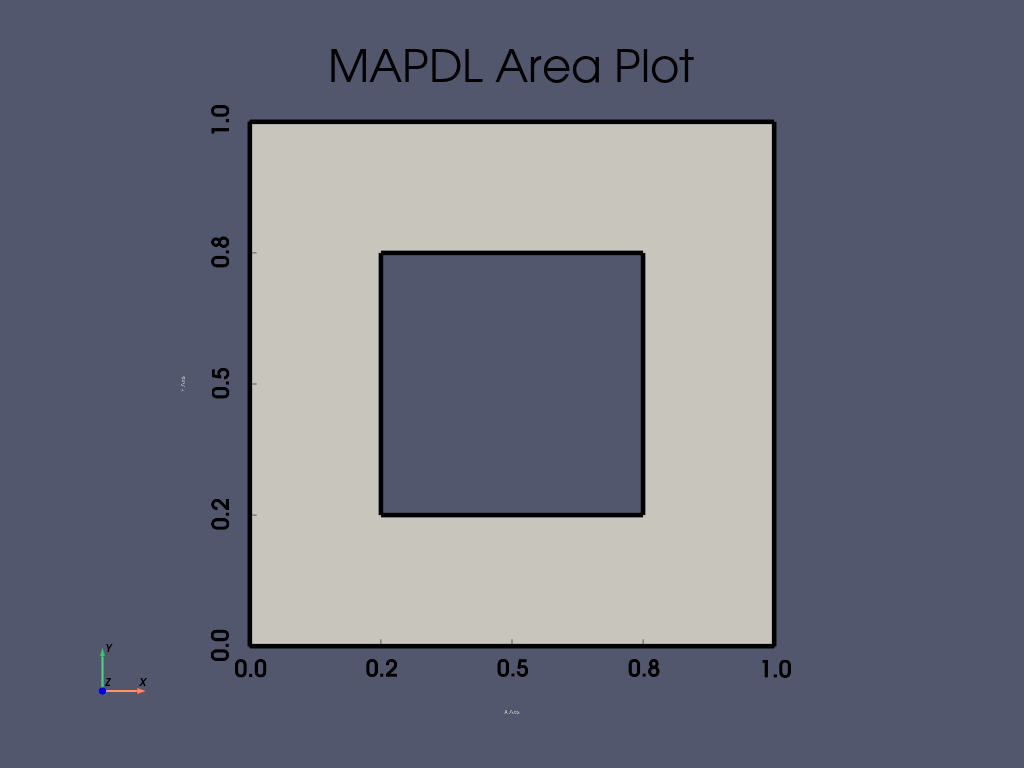
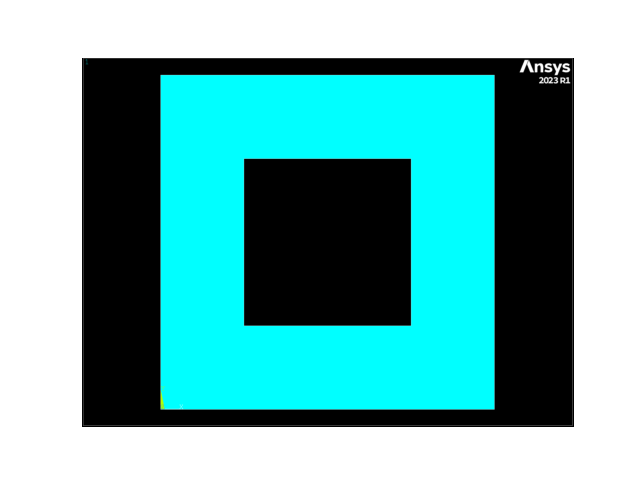
从一个 1 x 1 矩形中减去一个 0.5 x 0.5 矩形。
Area IDs#
返回一个 area ID 数组
array([3])
Area Geometry#
获取包含 area 的 VTK Multiblock 网格。这个 VTK 网格可以保存或绘制。更多信息,请参阅 Pyvista 文档 。
areas = mapdl.geometry.areas
areas
Merged Area Geometry#
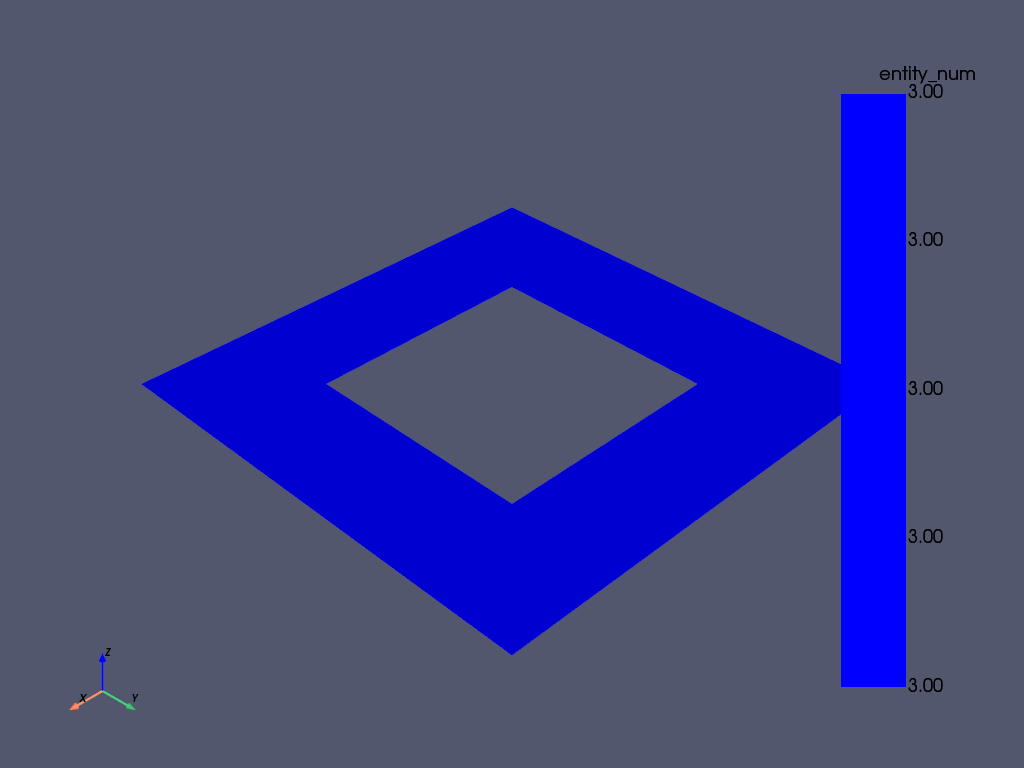
您还可以以 pyvista.PolyData 对象的形式获取 area 。
请注意,这是一种方法。您可以选择 area 的质量(网格密度),以及想要合并输出还是单独网格。
Area Selection#
有两种选择 area 的方法,一种是旧的 “传统” 风格,另一种是新的风格。对于那些熟悉现有 MAPDL 命令的人来说,旧式方法很有价值,而新式方法则适用于以 pythonic 方式选择 area 。
此示例生成一系列随机 area 并选择它们
mapdl.clear()
mapdl.prep7()


def generate_random_area():
    start_x, start_y, height, width = np.random.random(4)
    mapdl.blc4(start_x * 10, start_y * 10, height, width)


# create 20 random rectangles
for i in range(20):
    generate_random_area()

# Print the area numbers
print(mapdl.geometry.anum)
[ 1 2 3 4 5 6 7 8 9 10 11 12 13 14 15 16 17 18 19 20]
使用旧式命令选择其他 area 。
mapdl.asel("S", "AREA", "", 1, 20, 2)
print(mapdl.geometry.anum)
[ 1 3 5 7 9 11 13 15 17 19]
使用新式命令选择其他 area 。
Note that the Area IDs are 1 based in MAPDL, while Python ranges are 0 based.
mapdl.geometry.area_select(range(1, 21, 2))
print(mapdl.geometry.anum)
[ 1 3 5 7 9 11 13 15 17 19]
Select areas from a list
请注意,如果您想查看所选内容,可以 return_selected 。这在从现有 area 重新选择时非常有用。
[ 1 5 10 20]
APDL Command: APLOT#
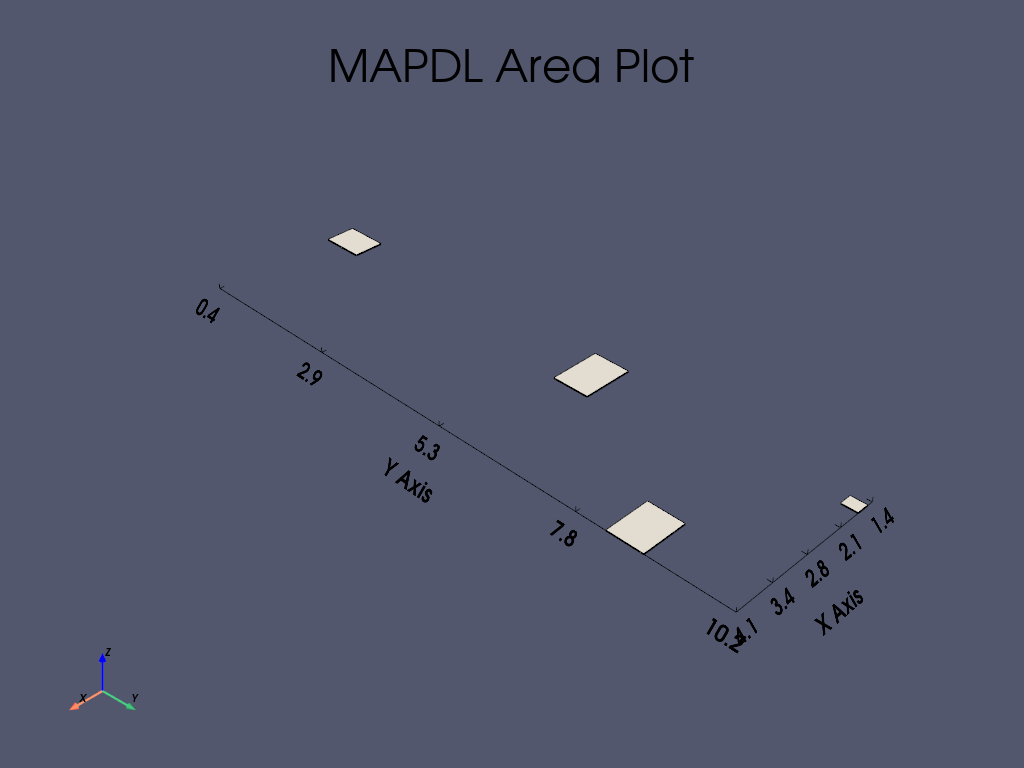
该方法使用 VTK 和 pyvista 生成动态 3D 图形。
所有常见的绘图方法都有多种绘图选项。在此,我们将启用边界并显示绘图线,同时使用 quality 参数提高绘图质量。
请注意, "cpos"` 关键字参数可用于描述以下摄像机方向:
iso- Isometric viewxy- XY Plane viewxz- XZ Plane viewyx- YX Plane viewyz- YZ Plane viewzx- ZX Plane viewzy- ZY Plane view
mapdl.aplot(quality=1, show_bounds=True, cpos="iso", show_lines=True)
Stop mapdl#
mapdl.exit()
Total running time of the script: (0 minutes 9.737 seconds)